Creating a simple scarf sewing pattern is a great project for beginners. Here's a basic pattern for a rectangular scarf:
Materials and Tools:
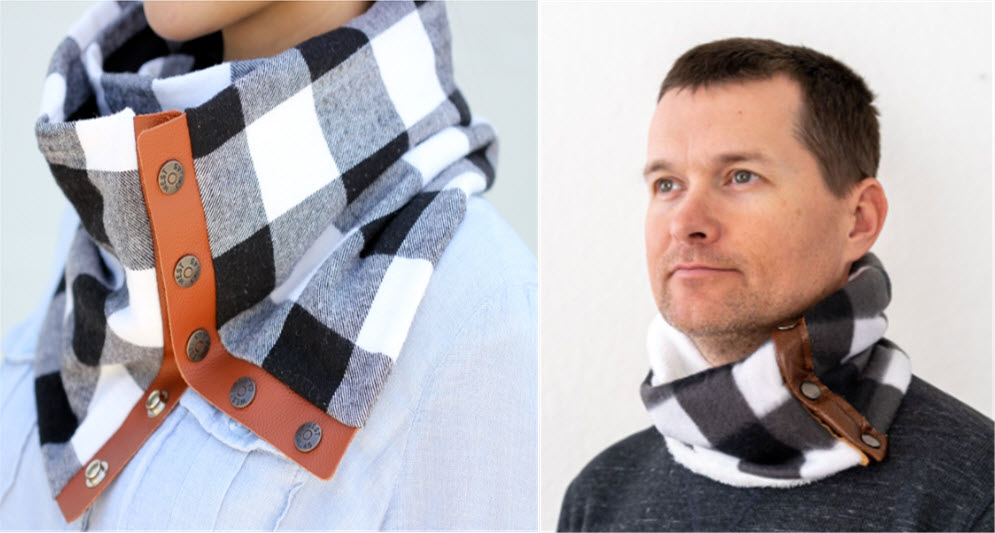
- Fabric of your choice (common options include fleece, flannel, or knit fabric)
- Measuring tape
- Fabric scissors
- Sewing machine
- Matching thread
- Pins
- Iron and ironing board
Step 1: Determine the Dimensions
- Decide on the finished dimensions for your scarf. A standard adult scarf is typically around 6 to 8 inches wide and 60 to 80 inches long. Adjust these measurements to your preference.
Step 2: Cut the Fabric
- Lay your fabric flat on a work surface.
- Measure and mark the desired width of your scarf on the fabric. For example, if you want a 7-inch wide scarf, measure 7 inches from the fabric edge.
- Use a straight edge (like a ruler or a piece of cardboard) to create a straight line from your mark to the opposite edge of the fabric. This will be the width of your scarf.
- Measure and mark the desired length of your scarf. If you want a 70-inch long scarf, measure 70 inches from one end of the fabric.
- Cut along the marked lines to create a rectangular piece of fabric for your scarf.
Step 3: Sew the Scarf
- Fold the fabric in half lengthwise with the right sides of the fabric facing each other.
- Pin along the long edge, leaving both short ends open.
- Sew along the pinned edge using a 1/2 inch (1.27 cm) seam allowance, leaving both ends open.
- Remove the pins.
Step 4: Finish the Scarf
- Turn the scarf right side out by pulling it through the open ends.
- Use an iron to press the seams and flatten the scarf for a neat appearance.
Your basic scarf is now complete. You can experiment with different fabrics, colors, and patterns to create a variety of scarves. If you want to add extra details like fringe or decorative stitching, feel free to do so to personalize your scarf even more.


