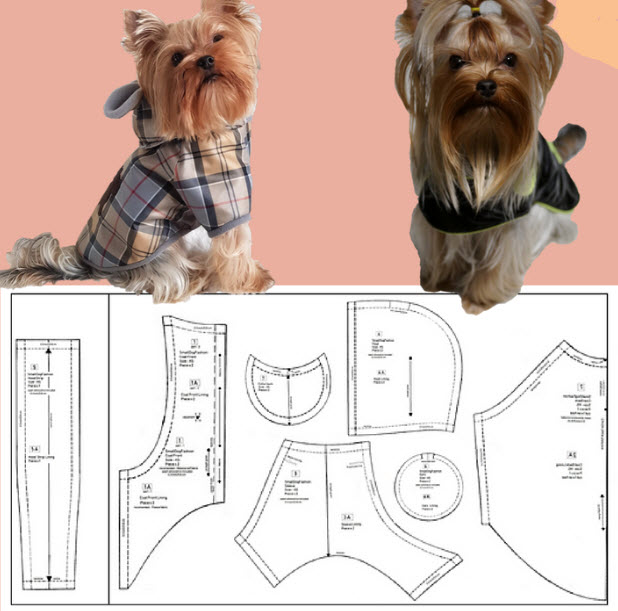
Creating a dog dress sewing pattern can be a fun project. Remember that different breeds and sizes of dogs have varying measurements, so it's important to tailor your pattern to your specific dog's measurements. Here's a general guide to help you create a dog dress sewing pattern for small to medium-sized dogs:
Materials Needed:
- Measuring tape
- Fabric (cotton, lightweight materials work well)
- Sewing machine
- Thread
- Scissors
- Pins
- Velcro or buttons for closures
- Embellishments (optional)
- Paper for pattern making
Steps:
- Measure Your Dog: Measure your dog's neck circumference, chest circumference, waist circumference, and length from neck to base of tail. These measurements will be crucial for creating a well-fitting dress.
- Create the Bodice Pattern: Draw a rectangle on your pattern paper. The width of the rectangle should be the chest circumference plus a little extra for ease (about 1-2 inches), and the height should be the desired length of the bodice. Add seam allowances to all sides.
- Create the Skirt Pattern: The skirt can be a simple gathered rectangle or a flared A-line shape. The width of the rectangle should be the waist circumference plus a little extra for ease, and the length can vary depending on how long you want the skirt. Add seam allowances to all sides.
- Create Sleeves (Optional): If you want to add sleeves to the dress, you can create rectangular sleeve pieces with a width that fits your dog's arm circumference and a length that suits the desired sleeve length. Add seam allowances to all sides.
- Cut Out Fabric: Use your patterns to cut out the bodice, skirt, and sleeve pieces from your chosen fabric. You'll need two bodice pieces (front and back), one or two skirt pieces (depending on the desired fullness), and two sleeve pieces (if adding sleeves).
- Sew the Bodice: Place the front and back bodice pieces together with right sides facing. Sew the shoulder seams and side seams using a straight stitch.
- Attach the Skirt: Gather the top edge of the skirt piece(s) using a gathering stitch. Attach the skirt to the bottom of the bodice, aligning the raw edges and distributing the gathers evenly.
- Add Sleeves (Optional): If you're adding sleeves, sew the short ends of the sleeve pieces together to form tubes. Attach the sleeves to the armholes of the bodice. You can gather the sleeve cap slightly for a better fit.
- Finish Edges and Hem: Finish the raw edges of the dress by using a zigzag stitch or serger to prevent fraying. Hem the bottom of the skirt.
- Add Closures: Depending on your design, you can use Velcro, buttons, snaps, or ties to create closures for the dress. These closures will make it easier to put the dress on and take it off your dog.
- Embellish (Optional): If you'd like, you can add embellishments like bows, ribbons, appliques, or decorative stitching to personalize the dress.
- Try it On: Once your dress is complete, try it on your dog to ensure the fit is comfortable and secure. Make any necessary adjustments for a better fit.
Remember that creating a well-fitting dog dress might require some trial and error, especially if you're adjusting the pattern to your dog's unique measurements. It's always a good idea to make a mock-up or test version with inexpensive fabric before cutting into your final fabric.


