Creating sewing patterns for halter tops can be a fun and stylish project. Halter tops are versatile and can be made in various designs and fabrics. Here's a basic sewing pattern for a simple halter top. You can adjust the measurements and style elements to match your preferences:
Materials You'll Need:
- Fabric (cotton, linen, silk, or any desired fabric)
- Matching thread
- Scissors
- Sewing machine or needle and thread
- Pins
- Measuring tape
Steps to Create a Basic Halter Top Sewing Pattern:
- Take Measurements:
- Measure your bust, underbust, waist, and desired length of the halter top. Additionally, measure the back of your neck to the point where you want the halter ties to meet.
- Draft the Pattern:
- Create pattern pieces for your halter top. Here's a basic pattern for a simple halter top:
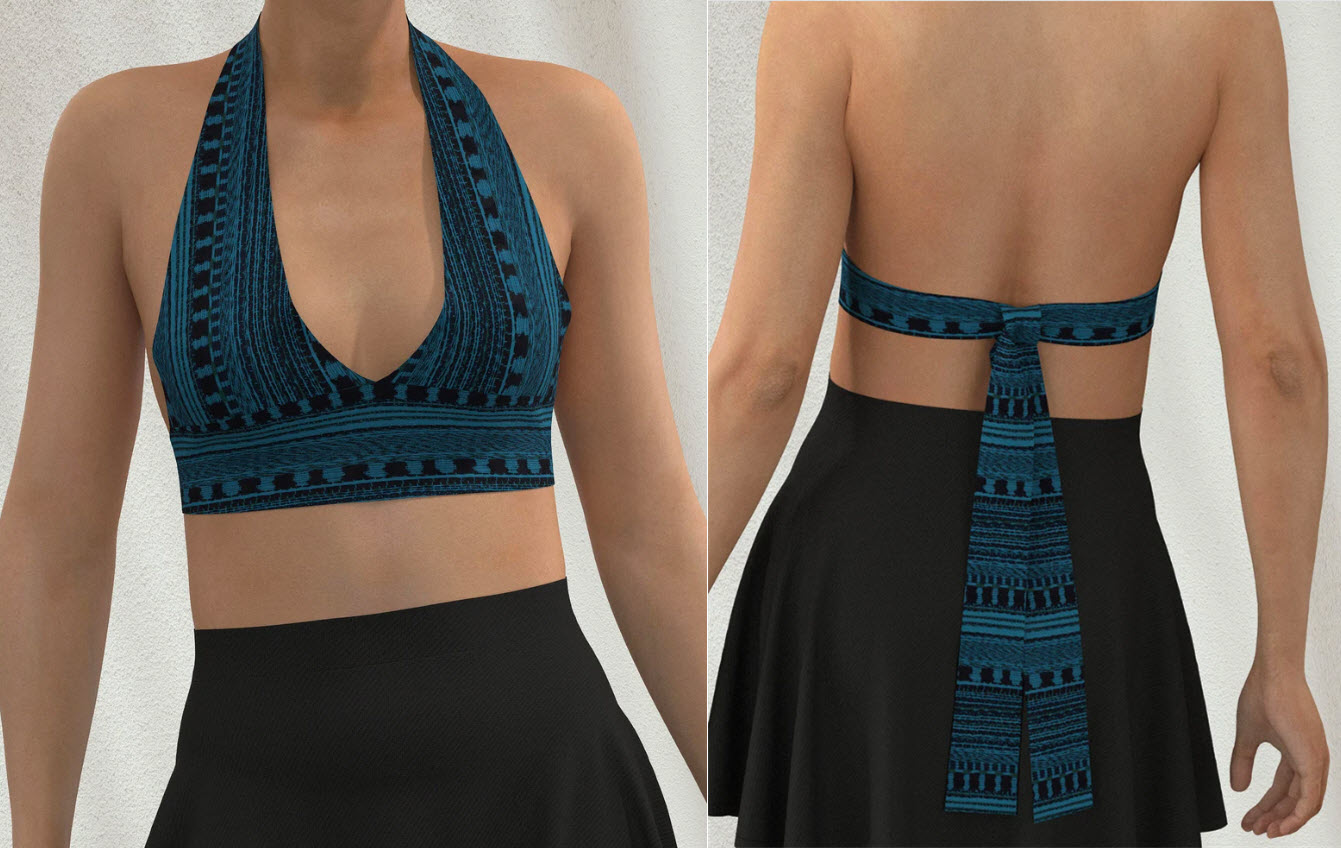
- Front Piece:
- A rectangular shape with a width equal to your bust measurement plus seam allowance and a length equal to the desired length of the halter top.
- At the top of the rectangle, mark a point for the center front, and draw diagonal lines from that point to the sides of the rectangle to create the halter neckline.
- Back Piece:
- A rectangular shape with a width equal to your underbust measurement plus seam allowance and a length equal to the desired length of the halter top.
- Neck Strap:
- A long strip that's the length of the measurement from the back of your neck to the point where you want the halter ties to meet. The width can be around 2 inches.
- Cut Out the Fabric:
- Pin the pattern pieces to your fabric and cut them out. You'll need one front piece, one back piece, and one neck strap piece.
- Sew the Halter Top:
- With the right sides of the fabric facing each other, sew the side seams of the front and back pieces, leaving the top open for the halter neckline.
- Finish the Edges:
- Hem the top edge of the front piece, the bottom edge of the back piece, and the long edges of the neck strap.
- Attach the Neck Strap:
- Position the neck strap pieces on the front piece's top corners and sew them in place, ensuring they're long enough to tie around your neck comfortably.
- Try It On:
- Try on the halter top to ensure a good fit. Adjust the strap length if necessary.
- Finish and Trim:
- Trim any loose threads, and your halter top is ready to wear.
This is a basic sewing pattern for a halter top. You can customize it by adding embellishments, changing the neckline shape, or using different fabrics to create a unique and stylish garment. As you become more experienced, you can experiment with more complex halter top designs.


