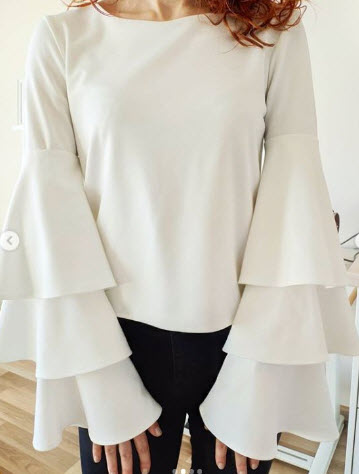
Creating a bell sleeve sewing pattern involves a few steps. Bell sleeves are characterized by their wide, flared shape that resembles the bell of a trumpet. Below is a simple pattern for a bell sleeve. You can adjust the measurements based on your size and desired sleeve length.
Materials:
- Pattern paper or any large paper for drafting
- Measuring tape
- Pencil
- Ruler
- Scissors
- Fabric of your choice
- Sewing machine or needle and thread
Instructions:
1. Take Measurements:
- Measure around your arm at the widest part of your bicep. This measurement will be used as the width of the sleeve at the upper arm.
2. Drafting the Pattern:
- Start by drawing a vertical line on your pattern paper. This will be the centerline of your sleeve.
- From the top of the centerline, mark a point down equal to the length of your sleeve (from shoulder to desired sleeve length). This point represents the bottom of the sleeve.
- At the top of the centerline, mark a point to the left and right equal to half of your bicep measurement. This point represents the width of the upper sleeve.
- Connect the top points to the bottom point with a smooth curve. This curve creates the basic shape of your bell sleeve.
- On the bottom edge, you can extend the curve slightly to create a more pronounced bell shape.
3. Cut Out the Pattern:
- Cut out the pattern along the outline you drew.
4. Transfer the Pattern to Fabric:
- Fold your fabric in half, and place the straight edge of your pattern along the fold.
- Pin the pattern to the fabric and cut around it, leaving seam allowances (usually 1/2 inch) on all sides.
5. Sewing the Bell Sleeve:
- With right sides facing each other, sew along the curved edge of the sleeve, leaving the top (shoulder) and bottom (wrist) open.
- Clip any curves to help the sleeve lay flat when turned right side out.
- Hem the bottom edge of the sleeve and finish the top edge by folding it over and sewing it down to create a clean finish.
- Optionally, you can add additional details like trim or embellishments.
6. Attach the Sleeve to a Garment:
- If you're attaching the bell sleeve to a garment, follow the pattern instructions for that garment to attach the sleeves.
Remember to test the sleeve length and adjust it according to your preference. This is a basic bell sleeve pattern, and you can modify it to suit different styles and lengths.


