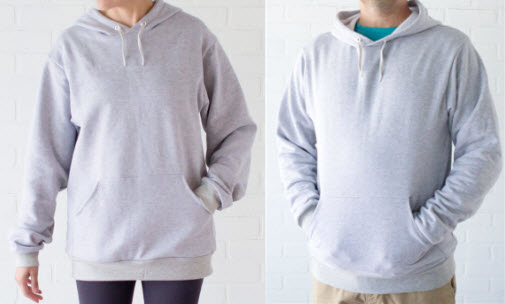
Creating a sewing pattern for a sweatshirt involves drafting a basic pattern based on your measurements and then customizing it to your preferred style. Here's a guide to help you make a basic sweatshirt pattern:
Contents
Materials Needed:
- Large sheets of paper (such as pattern paper or parchment paper)
- Pencil or pen
- Ruler or straight edge
- Measuring tape
- Fabric for your sweatshirt
- Scissors
- Sewing machine
- Pins
- Optional: Rib knit fabric for cuffs, collar, and waistband
Steps:
1. Take Measurements:
- Measure your chest, waist, hips, sleeve length, and desired length of the sweatshirt. Additionally, measure around your neck and the width of your shoulders.
2. Draft the Basic Pattern:
- Front and Back Bodice:
- Draw a vertical line representing the center front/back of the sweatshirt.
- From the center line, draw lines perpendicular to represent the half of your chest measurement plus ease. This will be the width of your front/back bodice.
- From the top of these lines, draw another line down to represent the length of the sweatshirt.
- At the top, mark a point for the shoulder width, and from there, draw a curved line to the chest line to create the armhole curve.
- Curve the bottom edge slightly for the waist.
- Sleeves:
- Draw a rectangle for the sleeve, with the width being your sleeve circumference plus ease and the length being your sleeve length measurement.
- At the top corners, round off the edges to create the sleeve cap. The curve should be gradual.
- Add seam allowance around all edges of the pattern pieces.
- Optional: Rib Knit Bands:
- Measure the circumference of your neck, wrists, and waist.
- Cut rib knit fabric strips for the neckband, wristbands, and waistband, making them slightly shorter than your measurements for a snug fit.
3. Cut Out and Assemble:
- Cut out your pattern pieces from the paper.
- Pin the pattern pieces to your fabric and cut out the fabric pieces.
- If adding rib knit bands, cut the rib knit fabric according to your measurements.
4. Sewing:
- Assemble the Bodice:
- Place the front and back bodice pieces right sides together and sew the shoulder seams.
- Sew the side seams from the sleeve hem to the waist.
- Attach Sleeves:
- Match the center of the sleeve cap with the shoulder seam and pin.
- Ease the sleeve into the armhole and pin in place.
- Sew the sleeves to the bodice.
- Add Rib Knit Bands (Optional):
- Attach the rib knit neckband by folding it in half and pinning it around the neckline, stretching slightly to fit.
- Sew in place with a stretch stitch or a serger.
- Repeat the process for wristbands and waistband if desired.
- Hem:
- Hem the bottom edge of the sweatshirt and the sleeves.
5. Finish:
- Trim any excess threads and give your sweatshirt a final press.
- Your basic sweatshirt is now complete!
Feel free to customize your sweatshirt by adding pockets, a hood, or other design elements. Experiment with different fabrics and colors to create a unique look.


