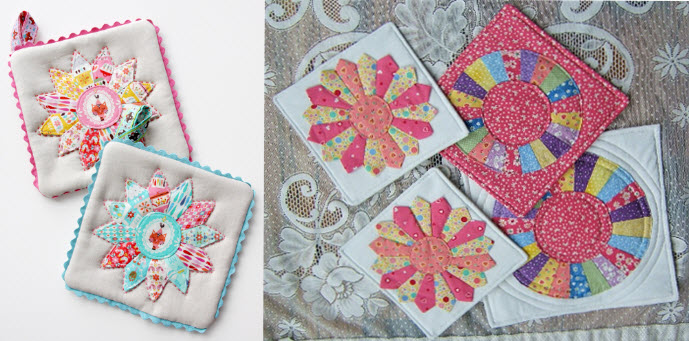
Creating potholders is a fun and practical sewing project that allows you to add a personal touch to your kitchen decor. Retro-style potholders often feature bold and colorful designs reminiscent of the mid-20th century. Here's a simple retro-inspired potholder pattern for you to sew:
Materials:
- Retro-style fabric for the top (cotton is a good choice)
- Coordinating solid fabric for the back
- Insul-Bright or heat-resistant batting
- Binding tape or bias tape
- Sewing machine and basic sewing supplies
- Iron and ironing board
Instructions:
- Cut Your Fabric:
- Cut two squares of retro fabric and two squares of solid fabric, each measuring approximately 8 inches by 8 inches.
- Cut one square of Insul-Bright the same size as your fabric squares.
- Layer Your Fabrics:
- Place one square of solid fabric right side up on your work surface.
- Lay the Insul-Bright on top of the solid fabric.
- Place one square of retro fabric right side down on top of the Insul-Bright.
- Sew the Layers Together:
- Sew around the perimeter of the layered squares, leaving a small 3-inch opening on one side for turning.
- Clip Corners and Turn:
- Clip the corners of your potholder to reduce bulk.
- Turn the potholder right side out through the opening you left.
- Press and Topstitch:
- Press the potholder flat with an iron.
- Topstitch around the edge of the potholder, about 1/8 inch from the edge, closing the opening as you sew.
- Quilt the Potholder:
- If desired, you can quilt your potholder by sewing lines or retro-style designs on the top fabric. This adds both a decorative element and helps secure the layers.
- Add Binding:
- Cut a strip of binding tape or bias tape long enough to go around the entire potholder.
- Open the tape and fold it in half lengthwise with the right side facing out.
- Align the raw edges of the binding with the raw edge of your potholder.
- Stitch the binding to the potholder, starting and ending at the corner. Miter the corners for a clean finish.
- Secure the Binding:
- Fold the binding over to the back of the potholder and stitch it down.
- Hang Loop (Optional):
- Cut a small piece of binding tape or bias tape, fold it in half, and attach it to one corner of the potholder for a hanging loop.
- Final Touches:
- Give your potholder a final press, and trim any loose threads.
Your retro-style potholder is now ready to use or display in your kitchen. You can customize the fabric to match your retro kitchen decor or create a set of coordinating potholders.


