A shacket, short for "shirt jacket," is a versatile clothing item that combines the characteristics of a shirt and a lightweight jacket. It's typically made from a medium-weight fabric and is perfect for transitioning between seasons or adding an extra layer of warmth without the bulk of a traditional jacket. If you're interested in sewing your own shacket, you can create one using a sewing pattern and the following steps:
Materials You'll Need:
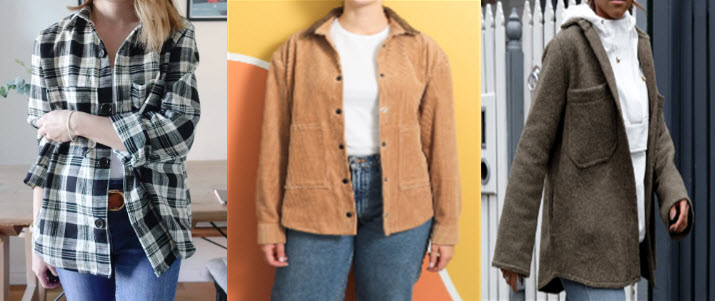
- Fabric: Choose a medium-weight fabric like cotton twill, flannel, denim, or a wool blend, depending on the level of warmth you want.
- Sewing Pattern: Look for a shacket sewing pattern. Many pattern companies offer shacket patterns, and you can often find them online or at your local fabric store.
- Sewing Machine: A sewing machine will make the process faster and more efficient, but you can also hand-sew if you prefer.
- Thread: Select a thread color that matches your fabric.
- Scissors: Fabric scissors for cutting the fabric and paper scissors for cutting the pattern.
- Pins or Clips: These will help you hold the fabric pieces together as you sew.
- Measuring Tape: To ensure proper sizing.
- Iron and Ironing Board: For pressing seams and preparing the fabric.
Steps to Sew a Shacket:
- Prepare Your Pattern:
- Cut out the shacket pattern pieces according to your size.
- Follow the pattern instructions to mark any notches, darts, or other important points on your fabric.
- Cut the Fabric:
- Lay out your fabric on a flat surface.
- Place the pattern pieces on the fabric according to the layout diagram in the pattern instructions.
- Pin or clip the pattern pieces to the fabric to hold them in place.
- Carefully cut out the fabric pieces along the pattern lines.
- Sewing:
- Follow the sewing pattern's instructions step by step. This will typically involve sewing the front and back pieces together, attaching the sleeves, and adding pockets, buttons, or snaps as needed.
- Pay attention to seam allowances, which are typically specified in the sewing pattern.
- Press open seams and fold hems as instructed to give your shacket a polished look.
- Finishing Touches:
- Once you've completed all the sewing steps, try on your shacket to ensure it fits well.
- Make any necessary adjustments or alterations.
- Button or Snap Closure:
- If your shacket pattern includes buttons or snaps, attach them according to the pattern instructions.
- Final Pressing:
- Give your shacket a final press with an iron to smooth out any wrinkles and make it look crisp and well-finished.
- Optional Details:
- You can add personal touches like topstitching, decorative patches, or embroidery to customize your shacket.
Remember that sewing can be a detailed and precise craft, so take your time and follow the pattern instructions closely. With patience and practice, you can create a stylish and functional shacket that suits your personal style and needs.


