Creating a sewing pattern for a bucket hat is a fun and relatively simple project. Here's a basic pattern for a standard-sized adult bucket hat. You can adjust the measurements to make it larger or smaller as needed. You'll need to cut out several fabric pieces based on these measurements and then sew them together.
Materials Needed:
- Fabric (cotton, denim, canvas, or any fabric of your choice)
- Thread
- Sewing machine
- Scissors
- Pins
- Measuring tape
- Marker or chalk for marking fabric
- Interfacing (optional, for added structure)
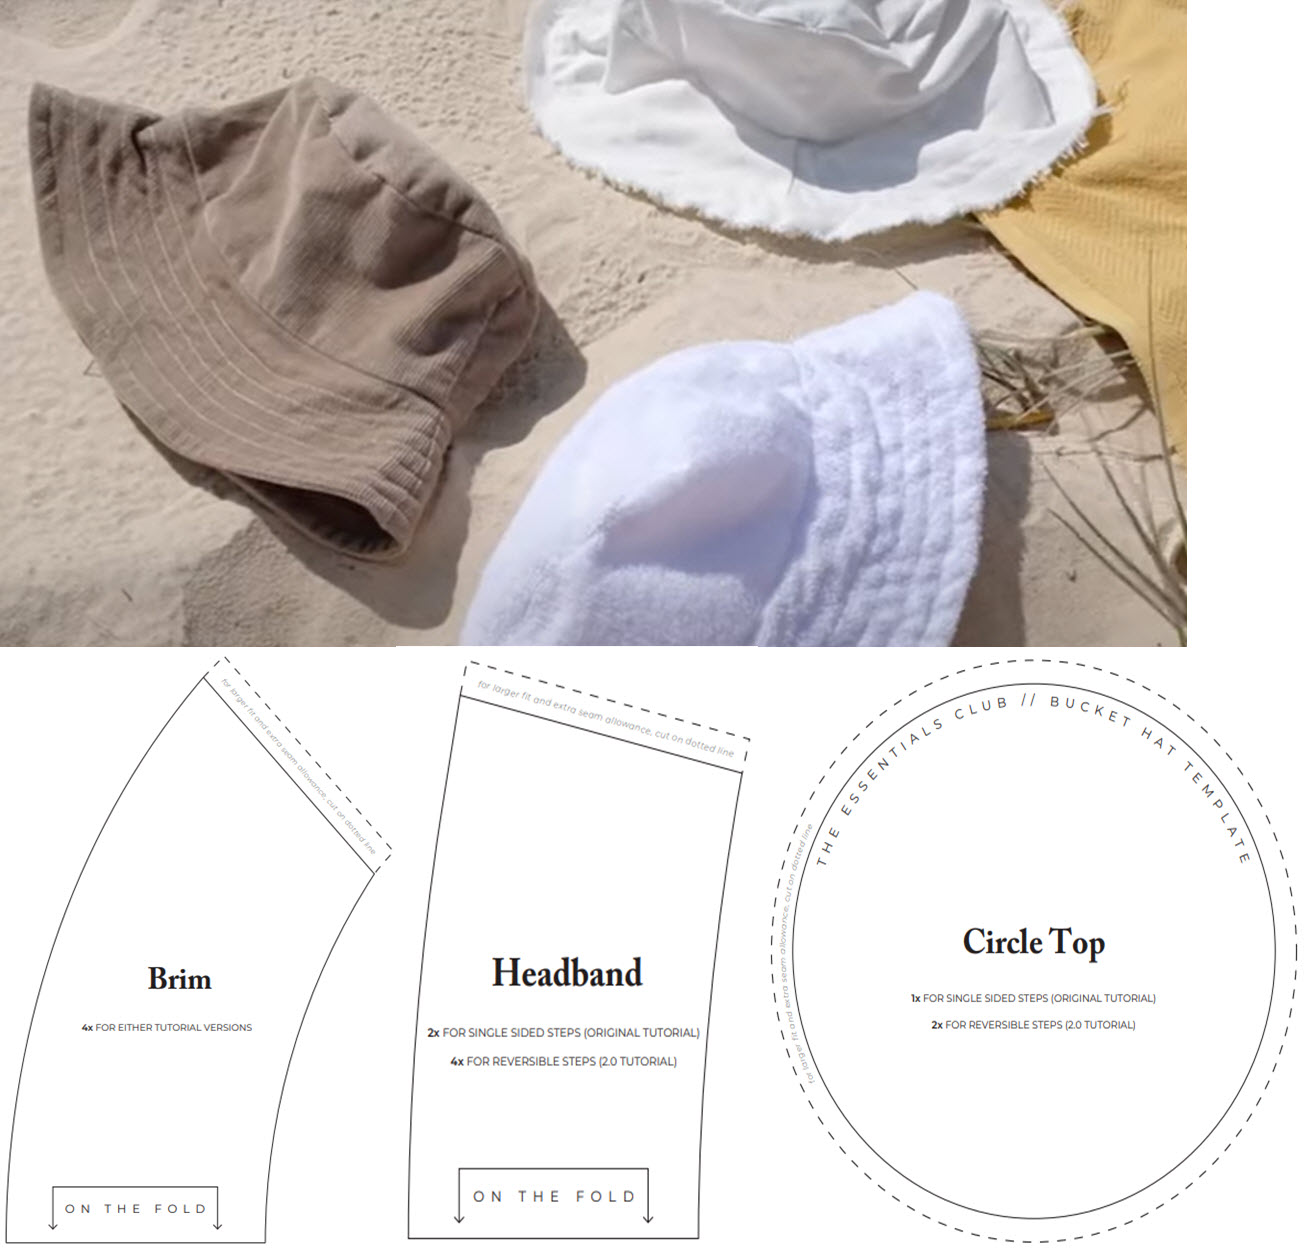
Bucket Hat Pattern Measurements: These measurements are for an adult-sized bucket hat. You may need to adjust them for a perfect fit.
- Crown (top of the hat):
- Diameter: 7.5 inches (19 cm)
- Height: 5.5 inches (14 cm)
- Brim (the wide part of the hat):
- Outer Diameter: 14 inches (35.5 cm)
- Inner Diameter: 7.5 inches (19 cm)
- Side Strip (the vertical part connecting the crown and brim):
- Width: 3.5 inches (9 cm)
- Length: The circumference of the crown, which is approximately 23.5 inches (60 cm) for a 7.5-inch diameter.
Instructions:
- Cut the Fabric:
- Cut two crown pieces using the crown measurements.
- Cut one brim piece using the outer diameter for the outer edge and the inner diameter for the inner edge.
- Cut one side strip piece using the width and length measurements.
- If you want to add structure to your hat, cut interfacing pieces for the crown and brim, and then fuse them to the corresponding fabric pieces following the manufacturer's instructions.
- Sew the Crown: a. Place the two crown pieces right sides together and sew along the curved edge (the 7.5-inch diameter) with a 1/4-inch seam allowance. b. Turn it right side out to form the crown of the hat.
- Sew the Brim: a. Fold the brim piece in half with right sides together, matching the outer edges. b. Sew along the outer edge with a 1/4-inch seam allowance. c. Turn the brim right side out.
- Sew the Side Strip: a. Fold the side strip in half lengthwise with right sides together. b. Sew along the long edge with a 1/4-inch seam allowance. c. Turn the side strip right side out.
- Assemble the Hat: a. Pin the raw edge of the side strip to the raw edge of the crown. b. Pin the brim to the bottom edge of the side strip, sandwiching it between the crown and side strip. c. Sew all layers together with a 1/4-inch seam allowance.
- Finish the Hat: a. Trim any excess fabric and threads. b. Press the seams for a clean finish. c. If desired, you can add a chin strap or decorative elements.
That's it! You've created a basic bucket hat using this pattern. Feel free to customize it with different fabrics, colors, and embellishments to suit your style.


