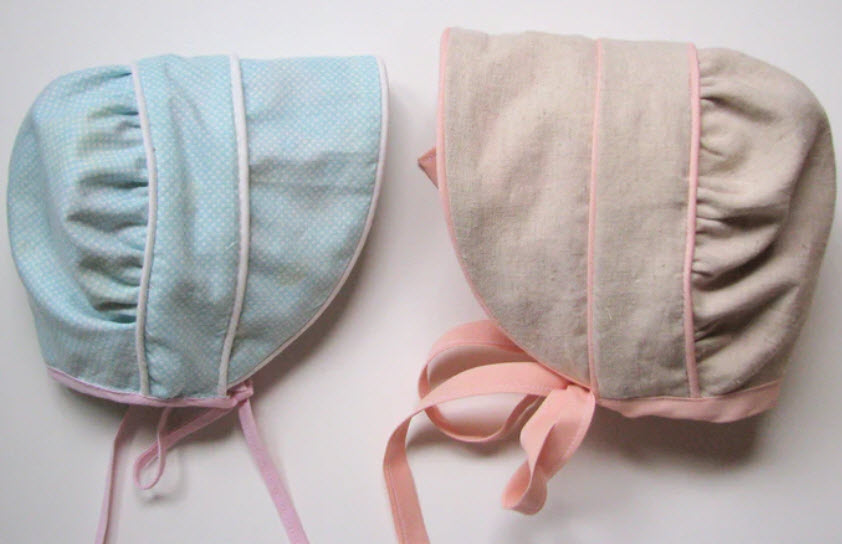
Certainly! Here's a simple pattern and instructions for sewing a basic bonnet. This bonnet is designed to be reversible, providing versatility in style.
Materials:
- Fabric (cotton or lightweight fabric for a comfortable feel)
- Coordinating thread
- Ribbon or bias tape for ties
- Sewing machine
- Scissors
- Pins
- Iron
Bonnet Pattern: You can create a basic bonnet pattern by following these measurements. Adjustments can be made based on personal preferences.
- Main Bonnet Piece (cut 2):
- Width: 12 inches (30 cm)
- Height: 8 inches (20 cm)
- Brim Piece (cut 2):
- Width: 12 inches (30 cm)
- Height: 4 inches (10 cm)
Instructions:
- Cutting the Fabric:
- Cut out two main bonnet pieces and two brim pieces from your chosen fabric.
- Sewing the Brim:
- Take the two brim pieces and place them right sides together.
- Sew along the curved edge, leaving the straight edge open.
- Trim the seam allowance and clip small notches around the curved edge to help it lay flat when turned right side out.
- Turn the brim right side out and press it flat.
- Attaching the Brim to the Main Bonnet Piece:
- Place one main bonnet piece right side up on your work surface.
- Align the straight edge of the brim with the bottom edge of the main bonnet piece, ensuring the curved edge of the brim is facing upward.
- Pin the brim in place along the bottom edge of the main bonnet piece.
- Sew the brim to the main bonnet piece along the pinned edge.
- Creating the Reversible Bonnet:
- Take the second main bonnet piece and place it right side down on top of the first, sandwiching the brim between them.
- Pin the two main bonnet pieces together, ensuring the brim is securely held in place.
- Sew around the bonnet, leaving a small opening for turning.
- Turning and Finishing:
- Turn the bonnet right side out through the opening.
- Press the bonnet flat, making sure the seams are crisp.
- Hand stitch or machine stitch the opening closed.
- Adding Ties:
- Cut two pieces of ribbon or bias tape, each about 20 inches (50 cm) long.
- Attach one end of each tie to the bottom corners of the bonnet, ensuring they are securely stitched in place.
Your reversible bonnet is now ready to be worn! Adjust the measurements and details based on your preferences, and feel free to embellish or customize the bonnet as desired.


