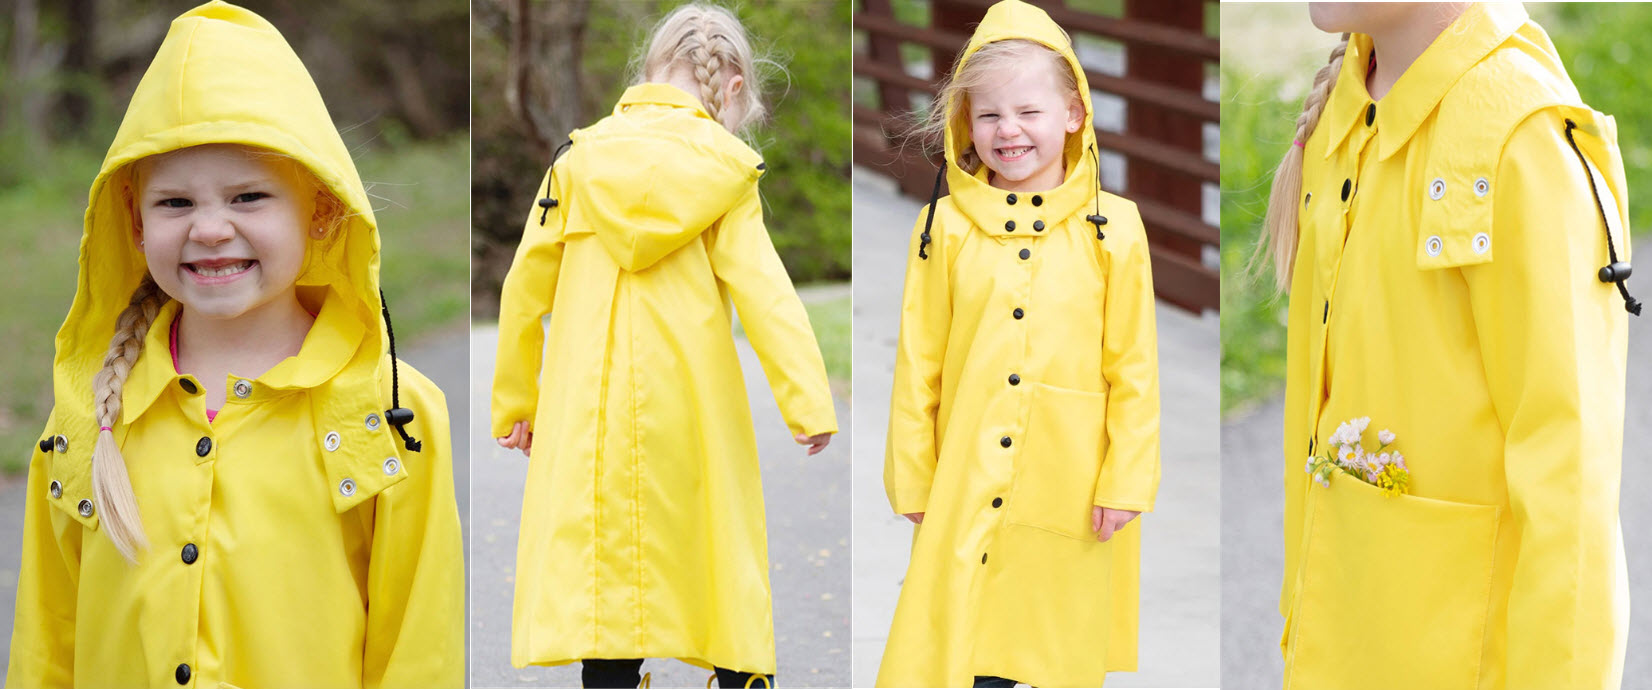
Sewing an anorak, which is a type of outdoor jacket typically made of water-resistant or waterproof fabric, requires some intermediate-level sewing skills. Here are the general steps for sewing an anorak pattern:
Materials and Tools:
- Anorak sewing pattern
- Fabric (typically waterproof or water-resistant fabric)
- Lining fabric (if desired)
- Interfacing
- Zippers and snaps
- Thread
- Sewing machine
- Scissors
- Pins or clips
- Measuring tape
- Iron and ironing board
- Sewing patterns or templates
- Marking tools
Instructions:
- Choose Your Pattern: Start by selecting an anorak sewing pattern. You can purchase one from a sewing pattern store or find a free pattern online. Ensure that it comes with clear instructions.
- Select Fabric: Choose the fabric for your anorak. Common choices include water-resistant nylon or polyester, as they are ideal for outdoor use. Make sure to prewash your fabric to prevent shrinkage later.
- Cut the Fabric: Lay out your fabric and use the pattern pieces to cut out the required fabric pieces. Make sure to follow the pattern instructions for the specific pieces you need. This typically includes the front and back panels, sleeves, pockets, and a hood.
- Prepare Interfacing: If your pattern requires interfacing, cut out interfacing pieces and iron them onto the corresponding fabric pieces. Interfacing helps add structure and stability to certain areas of the anorak.
- Assemble the Outer Shell: Start sewing the outer shell of the anorak. Follow the pattern instructions for the specific order of assembly. You'll likely sew the shoulder seams, attach the sleeves, and then sew the side seams. Make sure to reinforce seams for durability.
- Add Pockets: If your pattern includes pockets, sew and attach them to the front panels of the anorak.
- Add the Hood: Sew the hood according to the pattern instructions and attach it to the neckline.
- Zipper and Closures: Attach zippers, snaps, or any other closures as specified in the pattern. This often includes the front zipper, cuffs, and other fasteners.
- Lining (Optional): If your pattern includes a lining, sew the lining pieces together, leaving an opening for turning. Then, insert the lining into the outer shell and sew them together, making sure to match up the seams.
- Finish Seams: Trim any excess fabric, finish the seams with a serger or zigzag stitch, and press seams open or to one side to ensure a clean and polished finish.
- Hemming: Hem the bottom of the anorak and the sleeves to the desired length.
- Final Details: Add any additional details like drawstrings, buttons, or patches, as specified in the pattern.
- Quality Check: Carefully inspect your anorak for any loose threads or imperfections. Make any necessary adjustments.
- Press and Wear: Give your anorak a final press with an iron to make it look professional, and your anorak is ready to wear!
Remember to read the instructions provided with your specific anorak sewing pattern, as the exact steps and techniques may vary depending on the pattern and your chosen fabric. Take your time and practice your sewing skills to ensure a well-made anorak.


