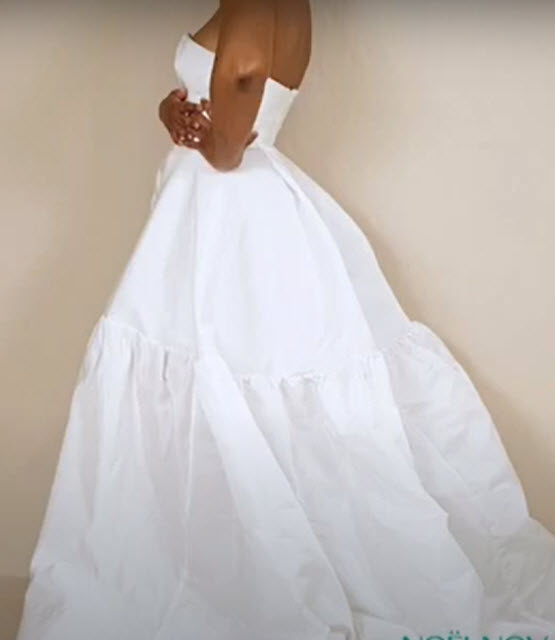
Creating a ball gown requires advanced sewing skills and a more intricate pattern. It's best to use a commercial sewing pattern specifically designed for ball gowns. These patterns provide detailed instructions and include multiple pattern pieces for various elements of the gown. You can find these patterns at fabric stores, online retailers, or through sewing pattern companies. Here's a general guide to help you get started:
Materials Needed:
- Ball gown sewing pattern (purchased or downloaded)
- Fabric (such as satin, taffeta, or organza)
- Lining fabric
- Interfacing (if needed)
- Zipper or closure (depends on the pattern)
- Boning (if needed)
- Thread
- Scissors
- Pins
- Sewing machine
- Measuring tape
- Iron
Instructions:
- Choose a ball gown sewing pattern that suits your style and preferences. Ensure that the pattern matches your measurements or make adjustments accordingly.
- Take your measurements for the bust, waist, and hips. Refer to the pattern's size chart to determine which size to cut or blend between sizes if necessary.
- Cut out the pattern pieces according to your size and the style of the ball gown you're creating. Most ball gown patterns include pieces for the bodice, skirt, sleeves (if applicable), and any additional design elements.
- Place the pattern pieces on your fabric and pin them in place. Carefully cut around the pattern pieces, following the markings and notches provided.
- Repeat the cutting process for the lining fabric, following the same pattern pieces as for the main fabric. If the pattern requires interfacing or boning, cut those pieces as well.
- Follow the pattern instructions to sew the bodice pieces together. This usually involves sewing the front and back bodice pieces, attaching darts, and adding any necessary closures like zippers or buttons.
- Sew the skirt pieces together according to the pattern instructions. This may involve creating pleats, gathering, or attaching multiple layers of fabric.
- Attach the bodice to the skirt, aligning the waistlines and matching any markings or notches.
- Sew the lining fabric following the same steps as for the main fabric. Typically, the lining will be attached to the neckline, armholes, and waistline of the bodice.
- Try on the gown to ensure a proper fit. Make any necessary adjustments before proceeding.
- Hem the skirt and lining by folding the fabric under and stitching it in place. The length of the gown will depend on your preference and the pattern instructions.
- Finish any remaining details according to the pattern, such as adding sleeves, embellishments, or additional layers.
- Press the entire gown with an iron to give it a polished and professional finish.
Please note that the specific steps may vary depending on the chosen pattern. It's crucial to carefully follow the instructions provided with the pattern for the best results. Creating a ball gown can be time-consuming and complex, so it's important to have patience and take your time throughout the sewing process. Good luck with your ball gown project!


