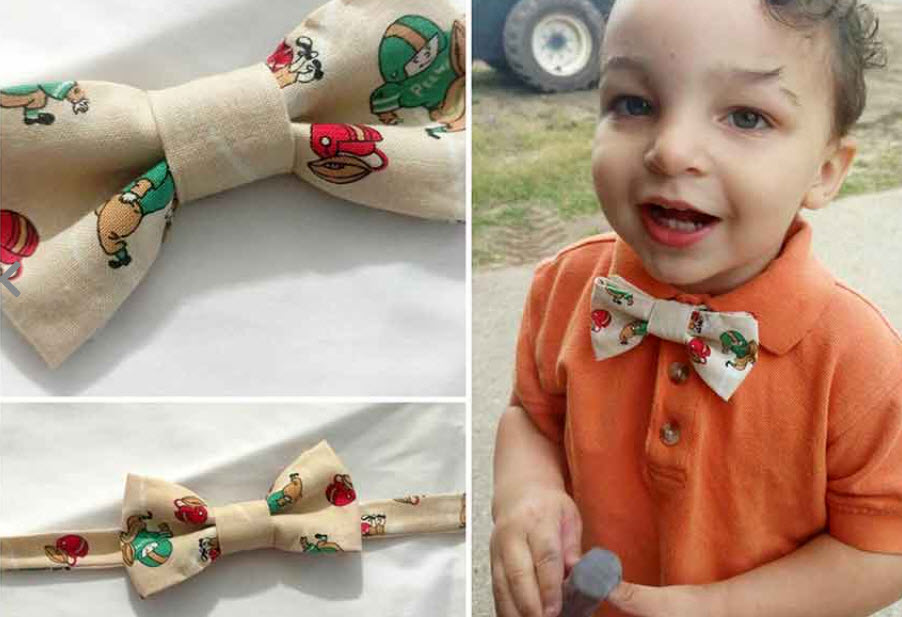
Creating a bow tie can be a fun and stylish sewing project. Here's a simple sewing pattern for making a classic pre-tied bow tie:
Bow Tie Sewing Pattern:
Materials Needed:
- Fabric of your choice (about 1/4 yard or a fat quarter)
- Interfacing (optional, for added structure)
- Bow tie hardware (adjustable strap and hook closure)
- Sewing machine or needle and thread
- Iron and ironing board
- Scissors
- Pins
Instructions:
1. Cut Fabric:
- Cut two rectangles from your fabric, each measuring approximately 4.5 inches by 7 inches. Adjust the size based on your preference for a larger or smaller bow tie.
- If you're using interfacing, cut a piece of interfacing to match one of the fabric rectangles.
2. Apply Interfacing (Optional):
- If using interfacing, iron it onto the back of one fabric rectangle following the manufacturer's instructions. This adds structure to the bow tie.
3. Sewing the Bow Tie:
- Place the two fabric rectangles right sides together.
- Stitch around the edges, leaving a small opening for turning. Use a 1/4 inch seam allowance.
- Trim the corners to reduce bulk.
- Turn the fabric right side out through the opening.
4. Shape the Bow:
- Press the fabric flat with an iron.
- Fold the rectangle in half lengthwise, aligning the long edges. Press to create a center crease.
- Open the fabric and fold each long edge toward the center crease, creating a tube-like shape.
- Fold the tube in half along the center crease and stitch along the open edge to secure the bow shape.
5. Middle Wrap:
- Cut a small strip of fabric (about 1 inch by 3 inches).
- Wrap it around the center of the bow tie, securing it with a few stitches in the back.
- This strip will cover the center seam and give your bow tie a polished look.
6. Attach Hardware:
- Sew one end of the adjustable strap to the back of the bow tie.
- Sew the hook closure to the other end of the strap.
- Ensure the hardware is securely attached, as it will be used to adjust the size of the bow tie around the neck.
7. Finishing:
- Hand-sew the opening used for turning the fabric closed.
- Adjust the hardware to fit comfortably around your neck.
Congratulations! You've made a stylish bow tie. Experiment with different fabrics and patterns to create bow ties for various occasions.


