
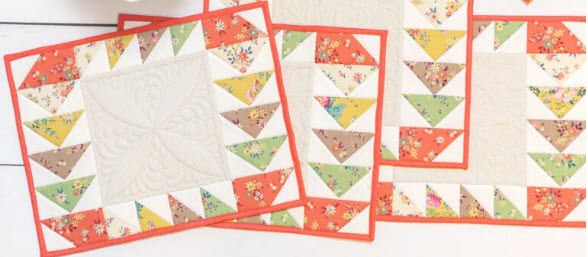
Creating a placemat pattern for sewing is a fun and practical project. Here’s a simple pattern for a rectangular placemat. Feel free to customize it according to your preferences.
Materials:
- Fabric of your choice (cotton or linen works well)
- Coordinating thread
- Rotary cutter or fabric scissors
- Cutting mat
- Ruler
- Sewing machine
- Iron
Instructions:
1. Measurements:
- Decide on the finished size of your placemat. A standard size is around 12 inches by 18 inches, but you can adjust based on your preference.
- Add 1 inch to both the length and width for seam allowances.
2. Cutting:
- Cut two rectangles from your chosen fabric using the measurements you determined in step 1. These will be the front and back panels of your placemat.
- Optionally, cut a piece of batting or fusible fleece to add some thickness to your placemat. Cut it to the same size as your fabric rectangles.
3. Optional Embellishments:
- Consider adding decorative elements such as appliqué, embroidery, or trim to personalize your placemat.
- If you’re adding an appliqué, cut out the desired shape from contrasting fabric and stitch it onto the front panel before moving on to the next step.
4. Assembly:
- Place the two fabric rectangles right sides together, and if you have batting, place it on top of one of the fabric pieces.
- Pin the layers together to keep them in place.
- Sew around the edges, leaving a 1/4 to 1/2 inch seam allowance. Leave a small opening (about 3 inches) on one side for turning.
5. Corners:
- Trim the excess fabric from the corners to reduce bulk.
- Be careful not to cut into the stitching.
- This step will help your corners look crisp when you turn the placemat right side out.
6. Turn and Press:
- Turn the placemat right side out through the opening.
- Push out the corners with a blunt tool (like a chopstick) to make them sharp.
- Press the placemat flat with an iron.
7. Topstitch:
- Optionally, topstitch around the edges of the placemat, about 1/8 inch from the edge. This will close the opening and add a finished look.
8. Finishing Touches:
- Give your placemat a final press to ensure it lays flat and looks polished.
Repeat these steps to create as many placemats as you need. Feel free to experiment with different fabrics, colors, and embellishments to match your personal style and home decor. Enjoy your sewing project!