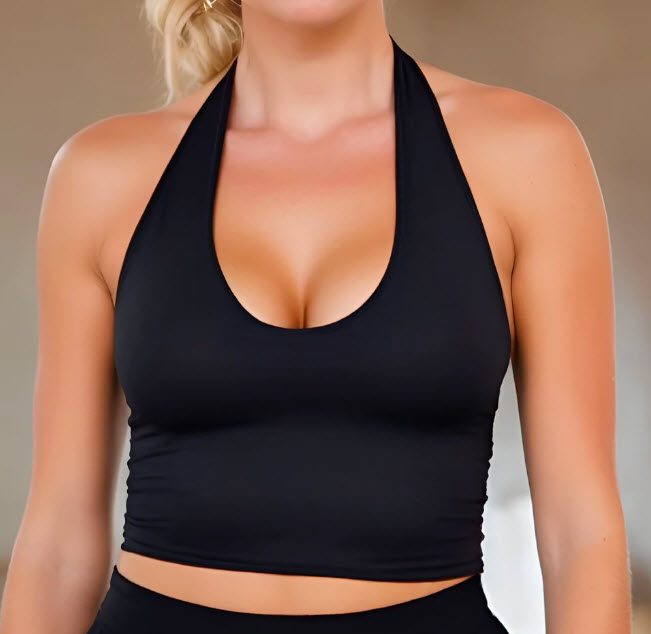
Creating a halter top pattern involves drafting or adjusting a pattern to fit your specific measurements. Here's a simple guide to help you create a basic halter top pattern.
Materials:
- Pattern paper or large sheets of paper
- Pencil
- Ruler
- Measuring tape
Halter Top Measurements:
- Bust circumference
- Underbust circumference
- Neck circumference
- Distance from underbust to neck (halter strap length)
- Distance from underbust to desired length of the top
- Back width
- Front width (from one side to the other under the bust)
Instructions:
- Drafting the Halter Top Front:
- Draw a vertical line equal to the distance from underbust to the desired length of the top.
- From the top of this line, mark the bust circumference divided by 4, plus seam allowances. Connect these points with a gentle curve to create the top edge of the halter.
- Measure down from the top to mark the underbust circumference divided by 4, plus seam allowances. Connect these points with a gentle curve to create the bottom edge of the halter.
- Measure and mark the front width along the bottom edge, then connect these points with straight lines to the top edge.
- Drafting the Halter Straps:
- On each side of the top, draw a line perpendicular to the top edge equal to the neck circumference divided by 2, plus seam allowances. These lines will be the halter straps.
- Connect the ends of these lines to the top corners of the halter to create the strap shape.
- Extend the halter straps to the desired length for tying around the neck.
- Completing the Halter Top Front:
- Add seam allowances (typically 1/2 inch or as per your preference) to all edges.
- Add any shaping darts if needed for a better fit.
- Label the pattern piece.
- Drafting the Halter Top Back:
- The back of the halter top can be similar to the front but without the bust shaping.
- Copy the top portion of the front pattern, including the halter straps, and extend the bottom edge to the desired length.
- Cutting and Sewing:
- Cut your fabric using the pattern pieces.
- Sew the front and back pieces together at the side seams.
- Attach the halter straps by folding them in half, sewing along the length, and turning them right side out.
- Attach the halter straps to the top corners of the front and back pieces.
- Finishing:
- Hem the bottom edge of the halter top.
- Add closures, such as ties or buttons, to the back for securing the halter top.
Remember to make a muslin mock-up first to test the fit before cutting into your final fabric. Feel free to customize the design based on your preferences, adding details like gathers, ruffles, or additional shaping as desired.


