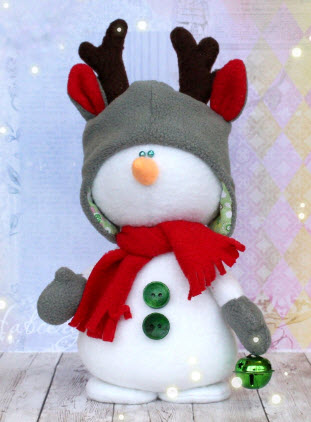
Creating a snowman sewing pattern can be a fun and creative project. Here's a simple snowman sewing pattern that you can use. Please note that this is a basic guide, and you can modify it based on your preferences and creativity.
Materials:
- White felt or fleece fabric
- Scraps of colored felt for accessories (scarf, hat, etc.)
- Embroidery thread or fabric paint for details
- Polyfill stuffing
- Sewing machine or needle and thread
- Scissors
- Pins
- Optional: Buttons, beads, or other embellishments
Snowman Pattern:
Body:
- Body Base:
- Cut two circles from white felt for the body. These can be varying sizes to create a tiered effect.
- The size of the circles will depend on how big you want your snowman. Start with a large circle for the bottom and gradually decrease in size for the upper circles.
- Assembly:
- Place the two circles on top of each other and pin in place.
- Sew around the edges, leaving a small opening for stuffing.
- Turn the snowman inside out (right side facing out).
- Stuffing:
- Fill the snowman with polyfill through the opening until it's plump.
- Hand stitch or use a sewing machine to close the opening.
Accessories:
- Scarf:
- Cut a strip of colored felt for the scarf.
- You can fringe the ends by making small cuts along the edges.
- Hat:
- Cut a circle for the brim of the hat and a rectangle for the hat itself.
- Sew the rectangle into a cone shape for the top of the hat.
- Attach the cone to the circle to complete the hat.
- Face:
- Use embroidery thread or fabric paint to add eyes, a nose, and a mouth to your snowman's face.
- You can also use buttons or beads for the eyes and nose.
- Additional Accessories:
- Get creative and add other accessories like mittens, buttons, or a broom.
Remember, this is just a basic guideline, and you can customize your snowman pattern as much as you like. Feel free to experiment with different shapes, sizes, and embellishments to give your snowman a unique personality!


