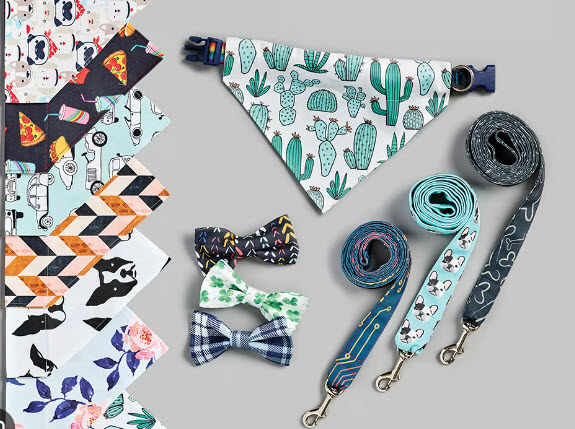
Creating a dog bandana is a fun and simple sewing project. Here's a basic pattern and instructions for making a dog bandana:
Materials:
- Fabric of your choice (cotton is a good option)
- Sewing machine or needle and thread
- Scissors
- Fabric marker or chalk
- Iron
Instructions:
- Choose and Cut Your Fabric:
- Choose a fabric that is comfortable for your dog. Cotton is a good choice because it's breathable.
- Measure your dog's collar to determine the size of the bandana. A common size is around 18 inches (45 cm) along the top edge.
- Cut a square piece of fabric based on the size you measured, adding a little extra for seam allowance (e.g., 20 inches by 20 inches).
- Create a Triangle:
- Fold the square fabric in half diagonally to create a triangle. Make sure the right sides of the fabric are facing each other.
- Mark and Sew:
- Use a fabric marker or chalk to mark a curved edge along the raw edges of the triangle (the side without the fold). This will be the bottom edge of the bandana.
- Sew along the marked line, leaving a small opening to turn the bandana right side out.
- Trim and Turn:
- Trim the excess fabric from the seam allowance, especially at the point of the triangle, being careful not to cut into the stitches.
- Turn the bandana right side out through the opening.
- Press:
- Use an iron to press the bandana, making sure the edges are crisp. Fold in the raw edges of the opening and press them in place.
- Topstitch:
- Topstitch around the entire bandana, closing the opening as you sew. This will also give the bandana a finished look.
- Attach to Collar:
- Slide your dog's collar through the bandana, positioning it in the middle.
- Secure:
- Once the bandana is on the collar, secure the collar around your dog's neck as usual.
Feel free to get creative with fabrics and decorations to make a bandana that suits your dog's personality. This simple pattern is a great starting point, and you can adjust the size based on your dog's breed and preferences.


