Creating an oven mitt sewing pattern is a simple and practical project. Here's a basic pattern and instructions to make your own oven mitt:
Materials Needed:
- Fabric for the outer layer (cotton, canvas, or heat-resistant fabric)
- Insulating batting (thermal batting or Insul-Bright)
- Fabric for the lining (cotton or heat-resistant fabric)
- Coordinating thread
- Sewing machine
- Scissors
- Pins
- Marking pen or chalk
- Iron and ironing board
- Hand-sewing needle
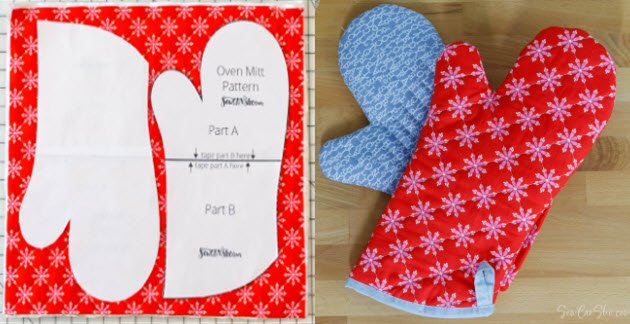
Pattern:
- Measure your hand: Measure the width of your hand from the base of your thumb to the outside of your pinky finger. Add about 1 inch (2.5 cm) to this measurement for seam allowances.
- Create the pattern: Draw a rectangle on a piece of paper with a length equal to your hand measurement and a width of about 8-9 inches (20-23 cm). Round off one end to create the thumb area.
- Cut the fabric: Cut two pieces of fabric from the outer fabric, two pieces from the lining fabric, and two pieces from the insulating batting, using your pattern. You should have a total of six pieces.
- Assemble the layers: a. Place one outer fabric piece right side up. b. Put one piece of insulating batting on top. c. Lay one piece of lining fabric on top of the batting, right side down. d. Pin these layers together.
- Sew the layers: a. Stitch along the curved side (the thumb area) with a 1/2 inch (1.25 cm) seam allowance. b. Leave the straight side (wrist area) open.
- Clip the curved seam: Make small cuts along the curved seam to allow the fabric to lay flat when turned right side out.
- Turn it right side out: Carefully turn the mitt right side out through the wrist opening.
- Press: Use an iron to press the mitt flat, making sure to fold in the seam allowance along the wrist opening.
- Topstitch: Sew around the curved edge, about 1/4 inch (0.6 cm) from the edge. This will help the mitt keep its shape and provide a finished look.
- Quilt or stitch the layers: To keep the insulating batting in place and add some insulation, you can stitch a few lines or quilt your mitt. This can be done by stitching through all layers.
- Close the wrist opening: Fold the open edge of the mitt in by about 1/2 inch (1.25 cm) and stitch it closed. You can do this by hand or machine.
- Repeat for the second mitt: Follow the same steps to create the second oven mitt.
Your oven mitts are now ready for use. Make sure to choose heat-resistant fabric and insulating batting for safety. You can customize your mitts by using different fabrics and decorative elements if desired.


