
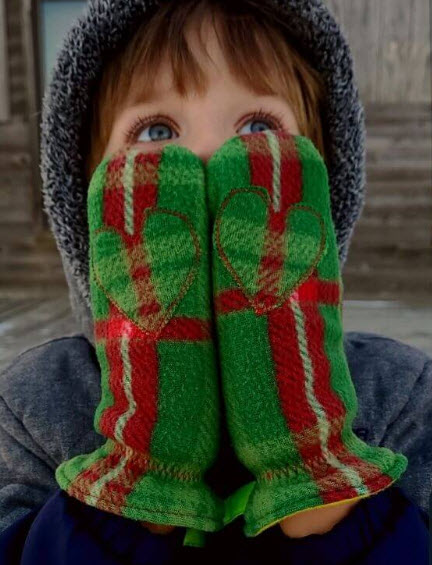
Creating a simple mitten sewing pattern for boys can be a fun and rewarding project. Here’s a basic guide for making mittens. Keep in mind that you might need to adjust the size based on the age of the child.
Materials:
- Outer fabric (e.g., fleece, wool)
- Lining fabric (e.g., cotton flannel)
- Interfacing (optional, for added warmth)
- Sewing machine and thread
- Scissors
- Pins
- Marking tool
- Paper for pattern drafting
Instructions:
1. Measure and Draft the Pattern:
a. Hand Measurements: – Measure the child’s hand circumference around the widest part. – Measure the length from the base of the palm to the tip of the longest finger.
b. Draft the Pattern: – Draw a rectangle for the palm, with a width equal to half of the hand circumference plus seam allowance. – Extend the rectangle to form a slightly tapered shape for the fingers. – Add extra seam allowance around the pattern.
2. Cut Fabric:
a. Outer Fabric: – Cut 2 mirror-image pieces from the outer fabric, using the pattern.
b. Lining Fabric: – Cut 2 mirror-image pieces from the lining fabric, using the same pattern.
c. Interfacing: – If using interfacing for added warmth, cut 2 mirror-image pieces and apply it to the wrong side of the outer fabric pieces following the manufacturer’s instructions.
3. Assemble the Mittens:
a. Place Outer Fabric and Lining Right Sides Together: – Place one outer fabric piece and one lining piece with right sides together. – Pin around the edges.
b. Sew Around Edges: – Sew around the edges, leaving the bottom open.
c. Clip Curves and Corners: – Clip the curves and corners without cutting into the seam.
d. Turn Right Side Out: – Turn the mitten right side out.
e. Repeat for the Second Mitten: – Repeat the process for the second mitten.
4. Finishing Touches:
a. Close the Bottom Opening: – Fold the raw edges of the bottom opening inside and hand-stitch or machine-stitch closed.
b. Optional Embellishments: – Add embellishments like appliqué, buttons, or embroidery if desired.
Now you have a basic mitten pattern that you can customize further based on personal preferences and style. Adjustments to the pattern size might be necessary depending on the child’s age and hand size.